Starnet++ integration
This tutorial aims to showcase use of the Starnet++ integration. This tool meets the needs of users to be able to manipulate images from Starnet++ with Siril, including Pixel Math, the Star Recombination Tool and the Synthetic Star Tools.
Siril Integration #
The integrated interface in Siril has no additional dependencies beyond requiring that Siril is compiled with libtiff support (this is the default, and if you are using packages your distribution will almost certainly have built it this way) and a working installation of Starnet++. Both v1 and v2 are supported.
Starnet++ Process #
Images from Siril pre-processing are usually in standard FITS/32bit format (though in some circumstances they may also be in FITS/16bit format). However, the images usable by Starnet++ must be in TIFF/16bit format. They must therefore be converted.
Similarly, Starnet++ output images are in TIFF/16bit. If you want to benefit from Siril’s calculation precision, you have to convert them to FITS/32bit. This format is also the only one supported by Siril’s PixelMath tool. The Starnet++ interface handles all the necessary image format conversion automatically. Unless the force 16 bit preference is set it will convert the output to 32 bit in order to be ready for increased precision calculations in subsequent processing.
The output image .fits FILTER headers are set to Starless and StarMask for the respective output files.
When to Remove Stars #
Starnet++ greatly prefers its input to have a midtone transfer function (MTF) autostretch applied - I speculate that this is how the data it was trained on was prepared. For this reason it is strongly recommended that you use Starnet++ before doing any custom stretching, and check the “Pre-stretch Linear Image” option.
There is an exception detailed on the Starnet++ website
: if you find difficulty with Starnet removing parts of nebulae along with the stars, you may have better results by maually applying a different MTF (histogram) stretch and turning off the pre-stretch option in the Starnet++ dialog. Note that in this case, if you have further linear processing to do you will need to note the values of the lo, mid and hi MTF sliders and apply the inverse stretch manually using the Siril console command invmtf.
The Starnet++ website also states that if dealing with colour images, it is better to remove stars from the full colour image rather than splitting the image into channels and removing stars from each in turn. It is therefore recommended that if processing mono images, they are composited into RGB colour before running Starnet++.
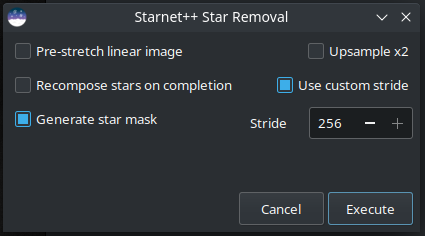
Starnet++ User Interface and Options #
The Starnet++ GUI is shown below. Note that the stride input control is only shown when Use custom stride is checked: it is unchecked by default.
Starnet++ interface GUI
Starnet++ can also be called from the console or scripts using the following command syntax:
starnet [-stretch]
        [-upscale]
        [-stride=value]
        [-nostarmask]
The options work as follows:
-strideStarnet++ has an option to set the stride used to divide the image into chunks for processing. Reducing the stride greatly increases the processing time and the author of Starnet++ strongly recommends leaving it at the default. Nevertheless, the option is made available.-upscaleThere is an option to upscale the input image by a factor of 2. This is provided following guidance on the Starnet++ website stating that upscaling may help if problems are experienced removing stars that cover a very small number of pixels. The option defaults to off.- The default option is to generate a star mask. This is simply the difference between the input image and the starless output, but it is extremely useful as part of a star reduction workflow where you wish to stretch the background separately to the stars but add the stars back later. If a star mask is not required the box may be unchecked in the GUI, or the option
-nostarmaskpassed to the command. - Siril offers another tool,
Star Recomposition, for simplifying the process of stretching the starless and star mask images independently. The Starnet++ GUI provides an option to launch this tool on completion of the Starnet++ process. Enabling this option will automatically enable star mask generation. There is no corresponding command option as this is purely a GUI tool.
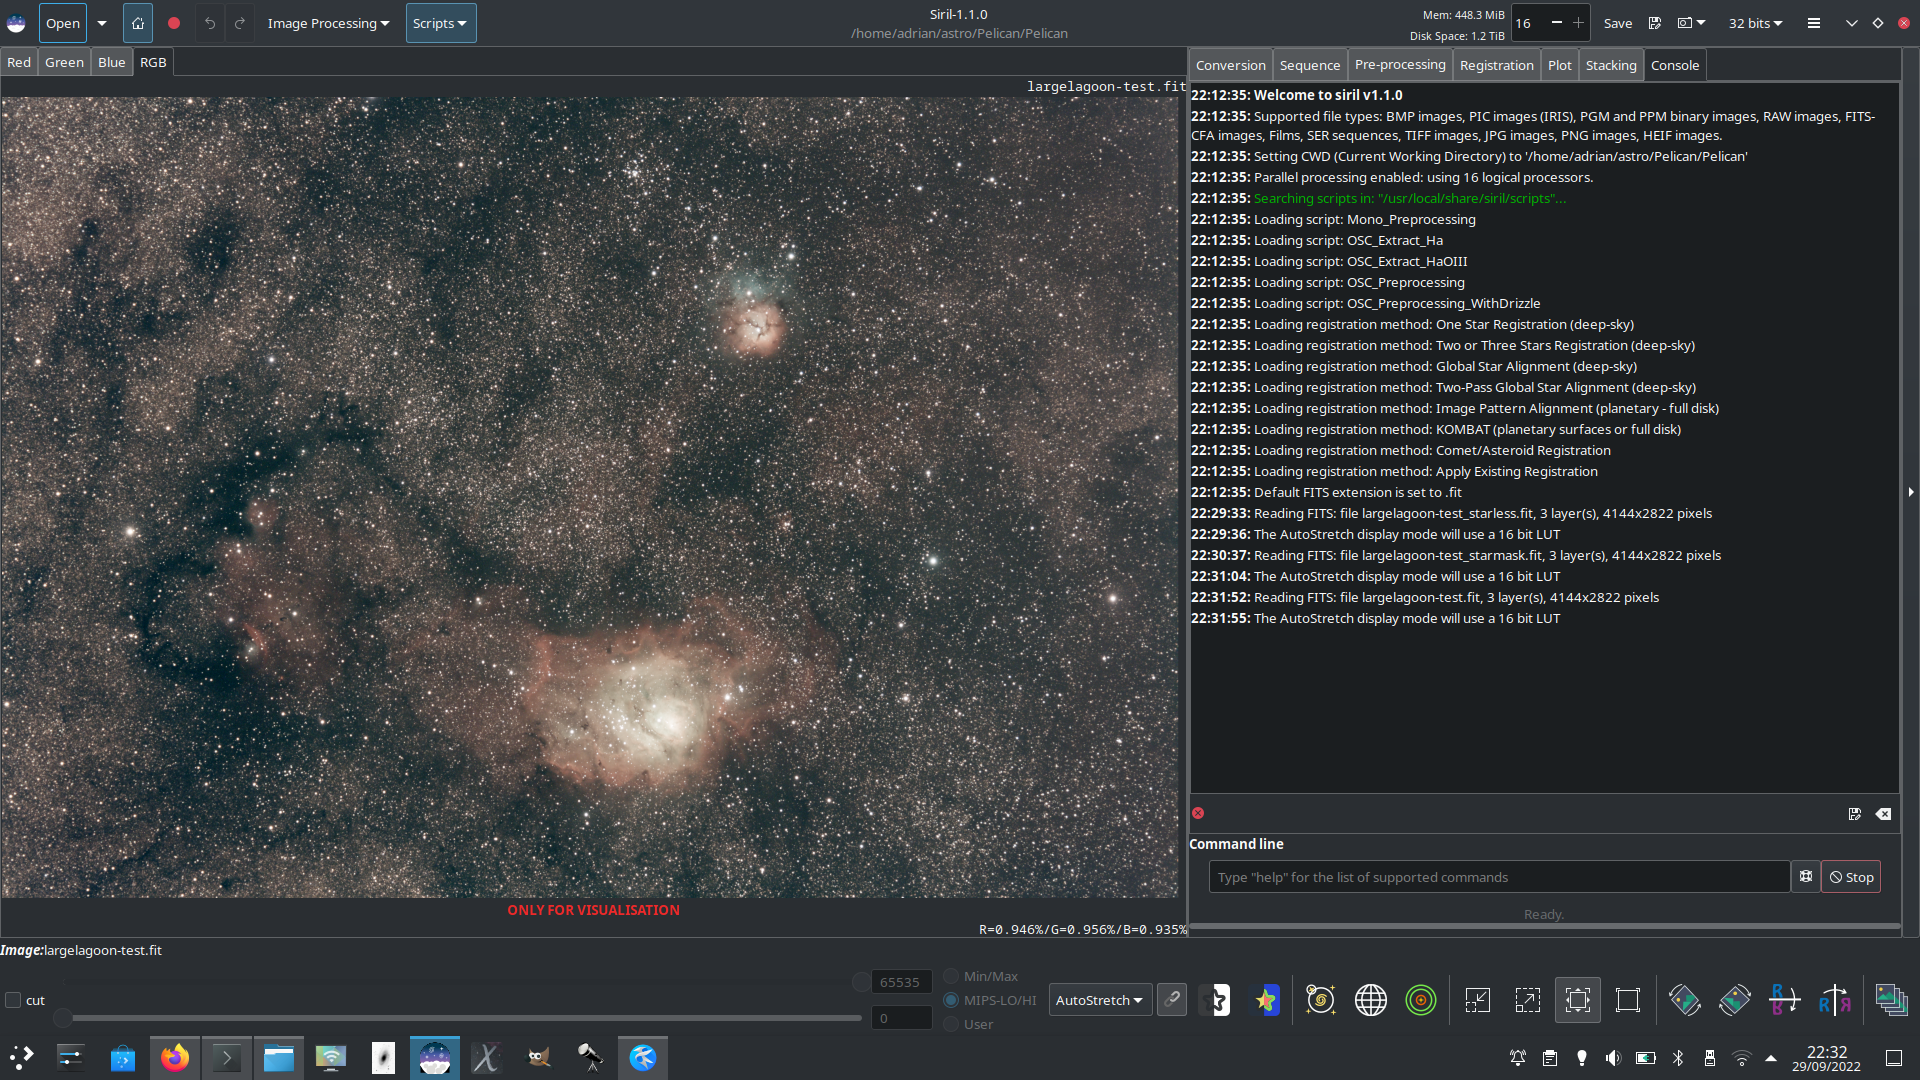
Example of an image with both nebulous background and many stars
The output files #
On completion of the process the starless image is saved in the working directory with the same name as the original file, with the _starless preffix added. The starless image is loaded as the current working image in Siril. The star mask is saved in the current working directory with the _starmask preffix added to the original filename.
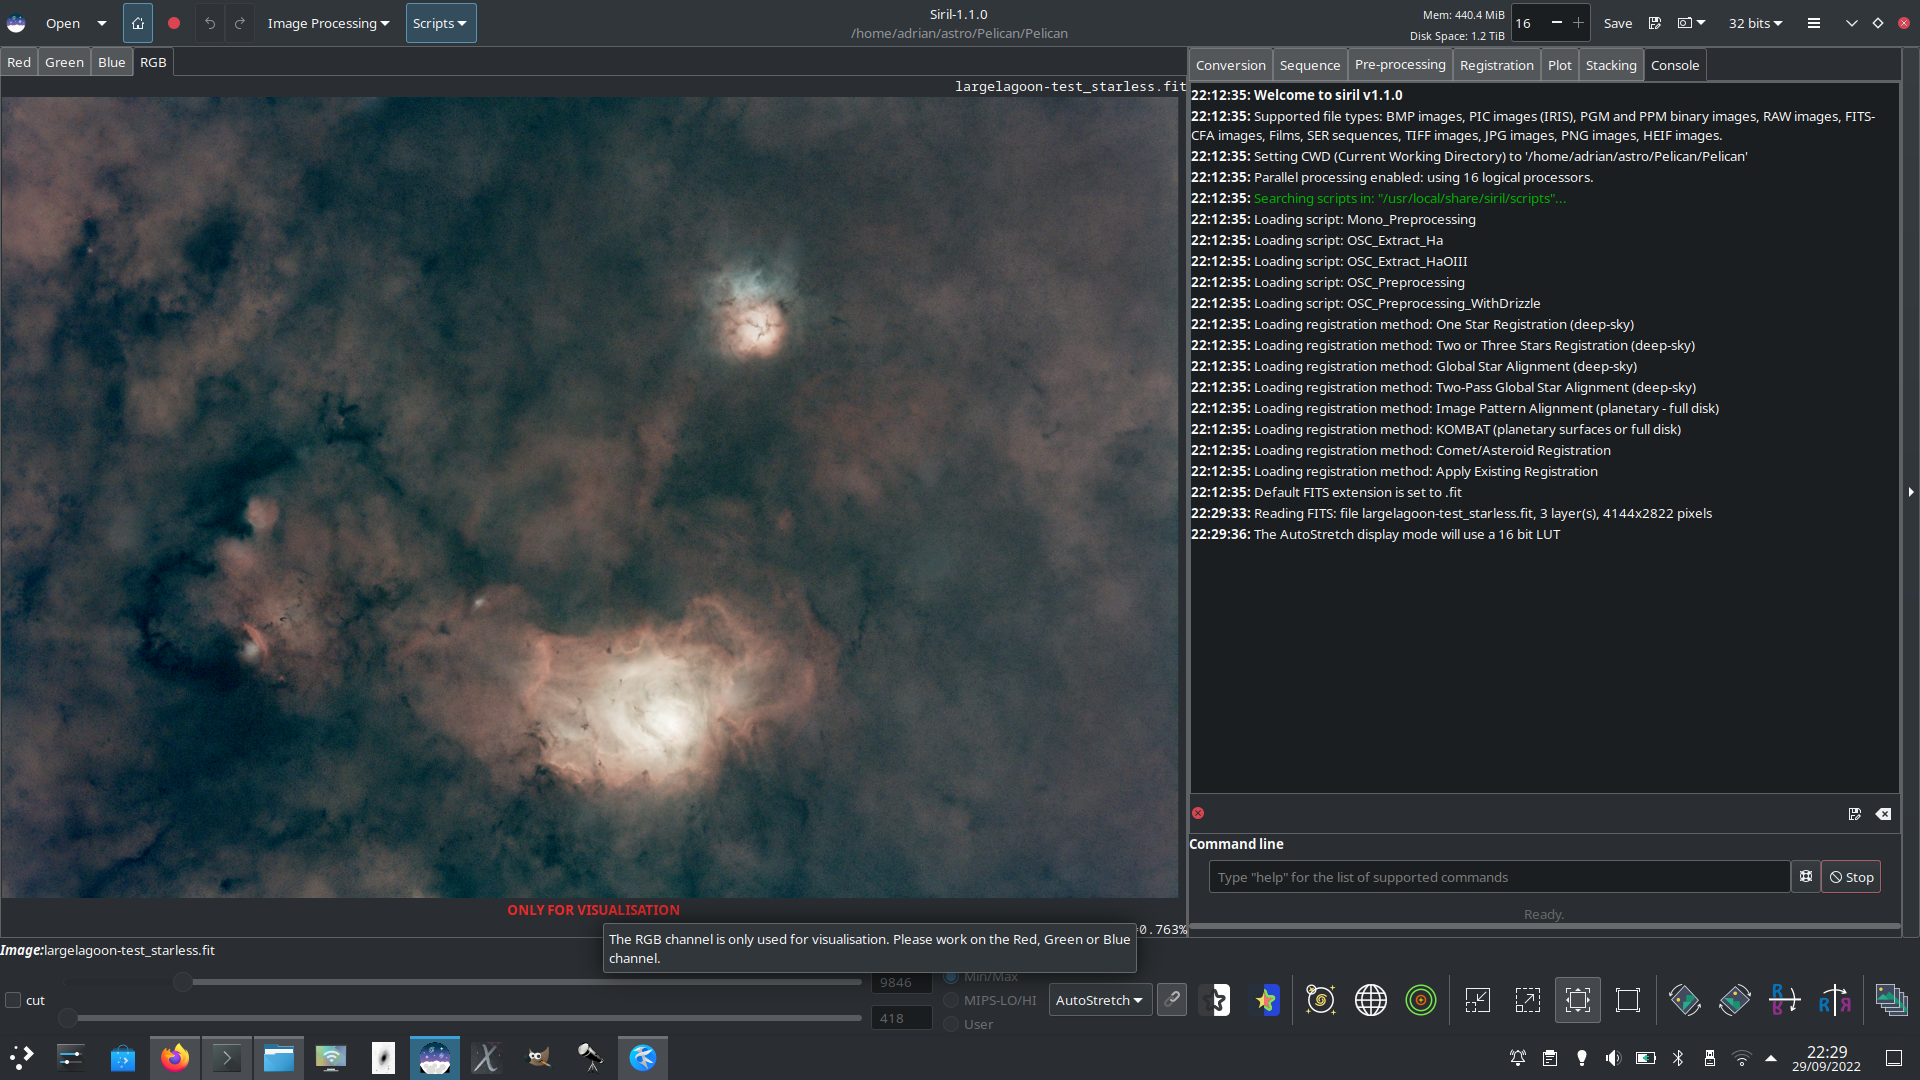
Example of the corresponding starless output file
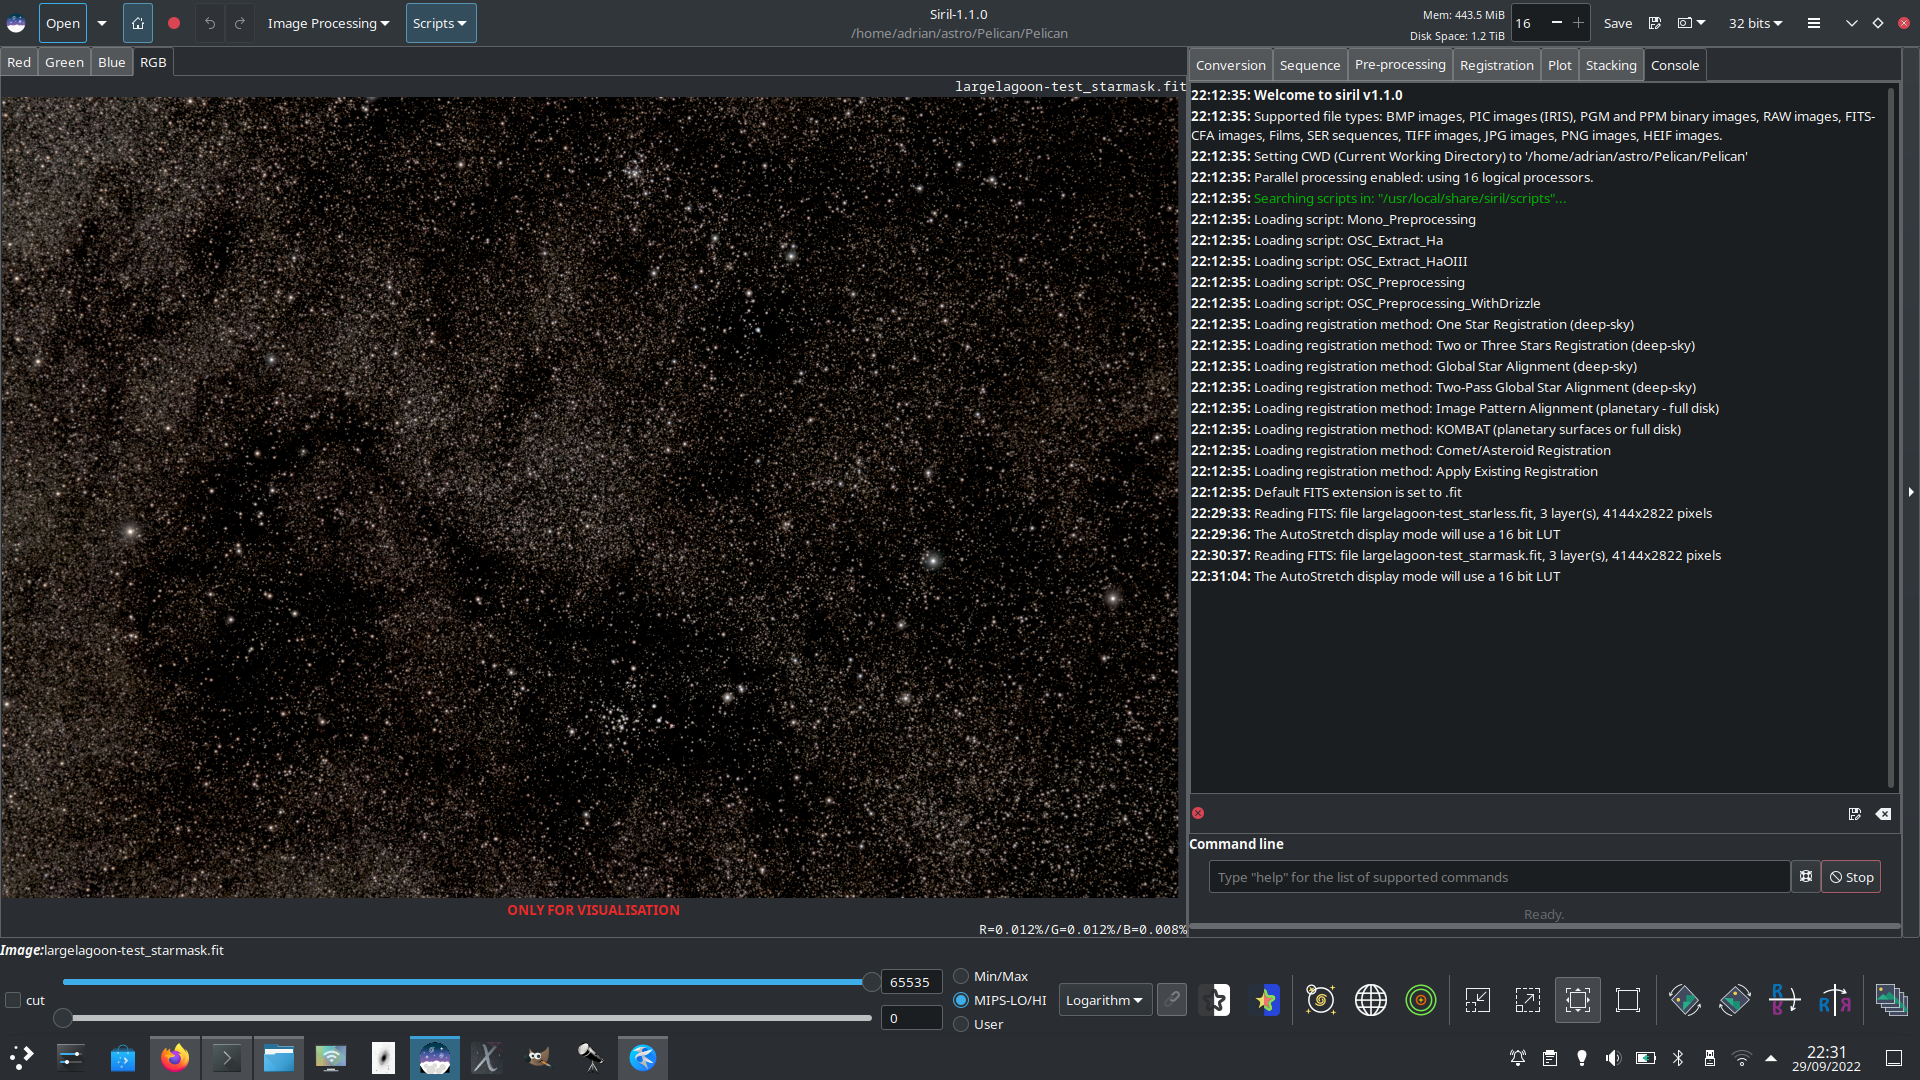
Example of the corresponding star mask output file
Star Recombination #
Introduced in 1.2.0 alongside Starnet++ integration, the Star Recombination tool enables the blending of two separate images with each having different stretches applied. In theory it can be used to blend any two images together, but the primary design goal was to support workflows involving separate processing of the starless layer and the star mask.
The tool can be loaded in two ways: it is accessible through the Image Processing menu, and the Starnet++ dialog also has an option to launch it directly on completion of Starnet++.
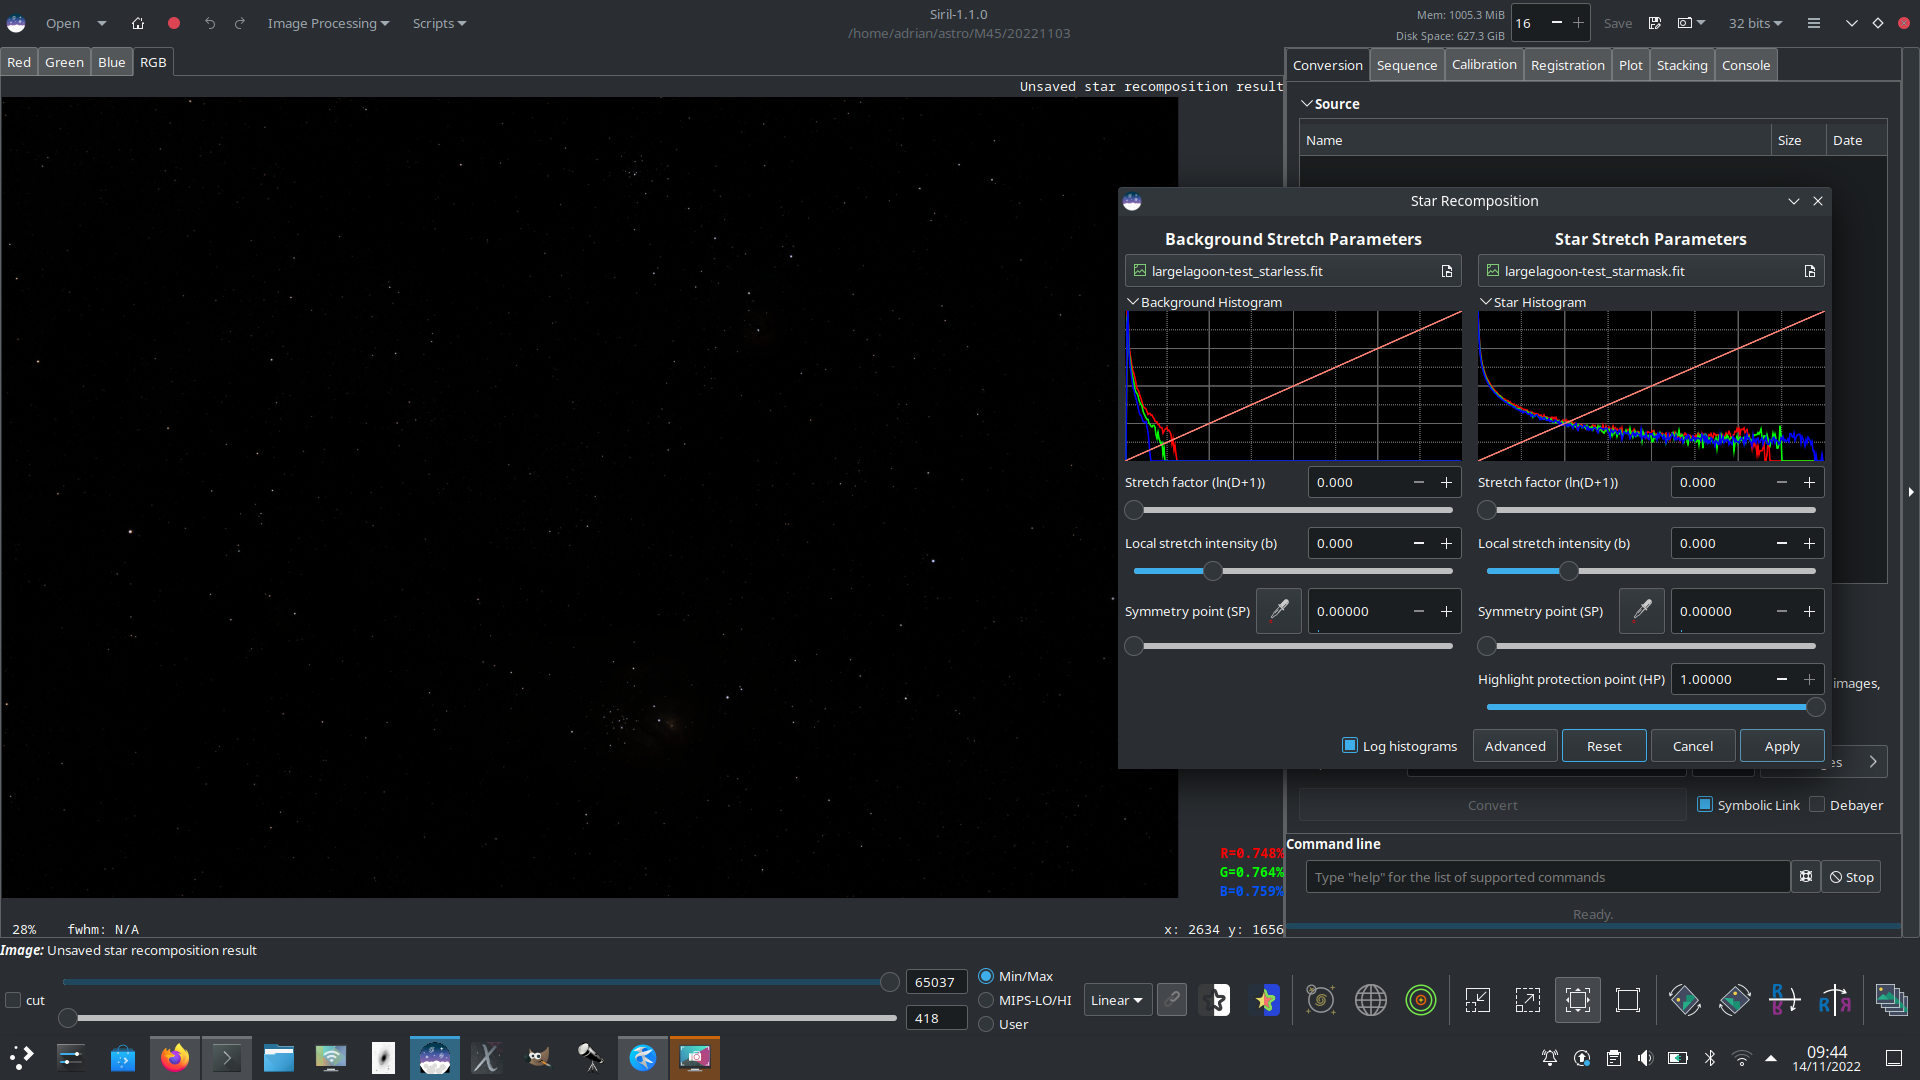
The Star Recombination tool UI
The dialog takes the form of two columns, each with a set of generalised hyperbolic stretch (GHS) controls and a mini histogram display. The mini histograms also show a graph of the transfer function of each stretch, and may be minimized by clicking the drop arrow next to their title. The histograms can be toggled between linear and logarithmic mode and obey the global UI preference for default histogram mode. The recombination tool has no facility to stretch channels separately owing to space constraints in the UI. If this is desired, channels can still be stretched separately using the main GHS interface accessible through the Image Processing menu and then loading the stretched result into Star Recombination tool.
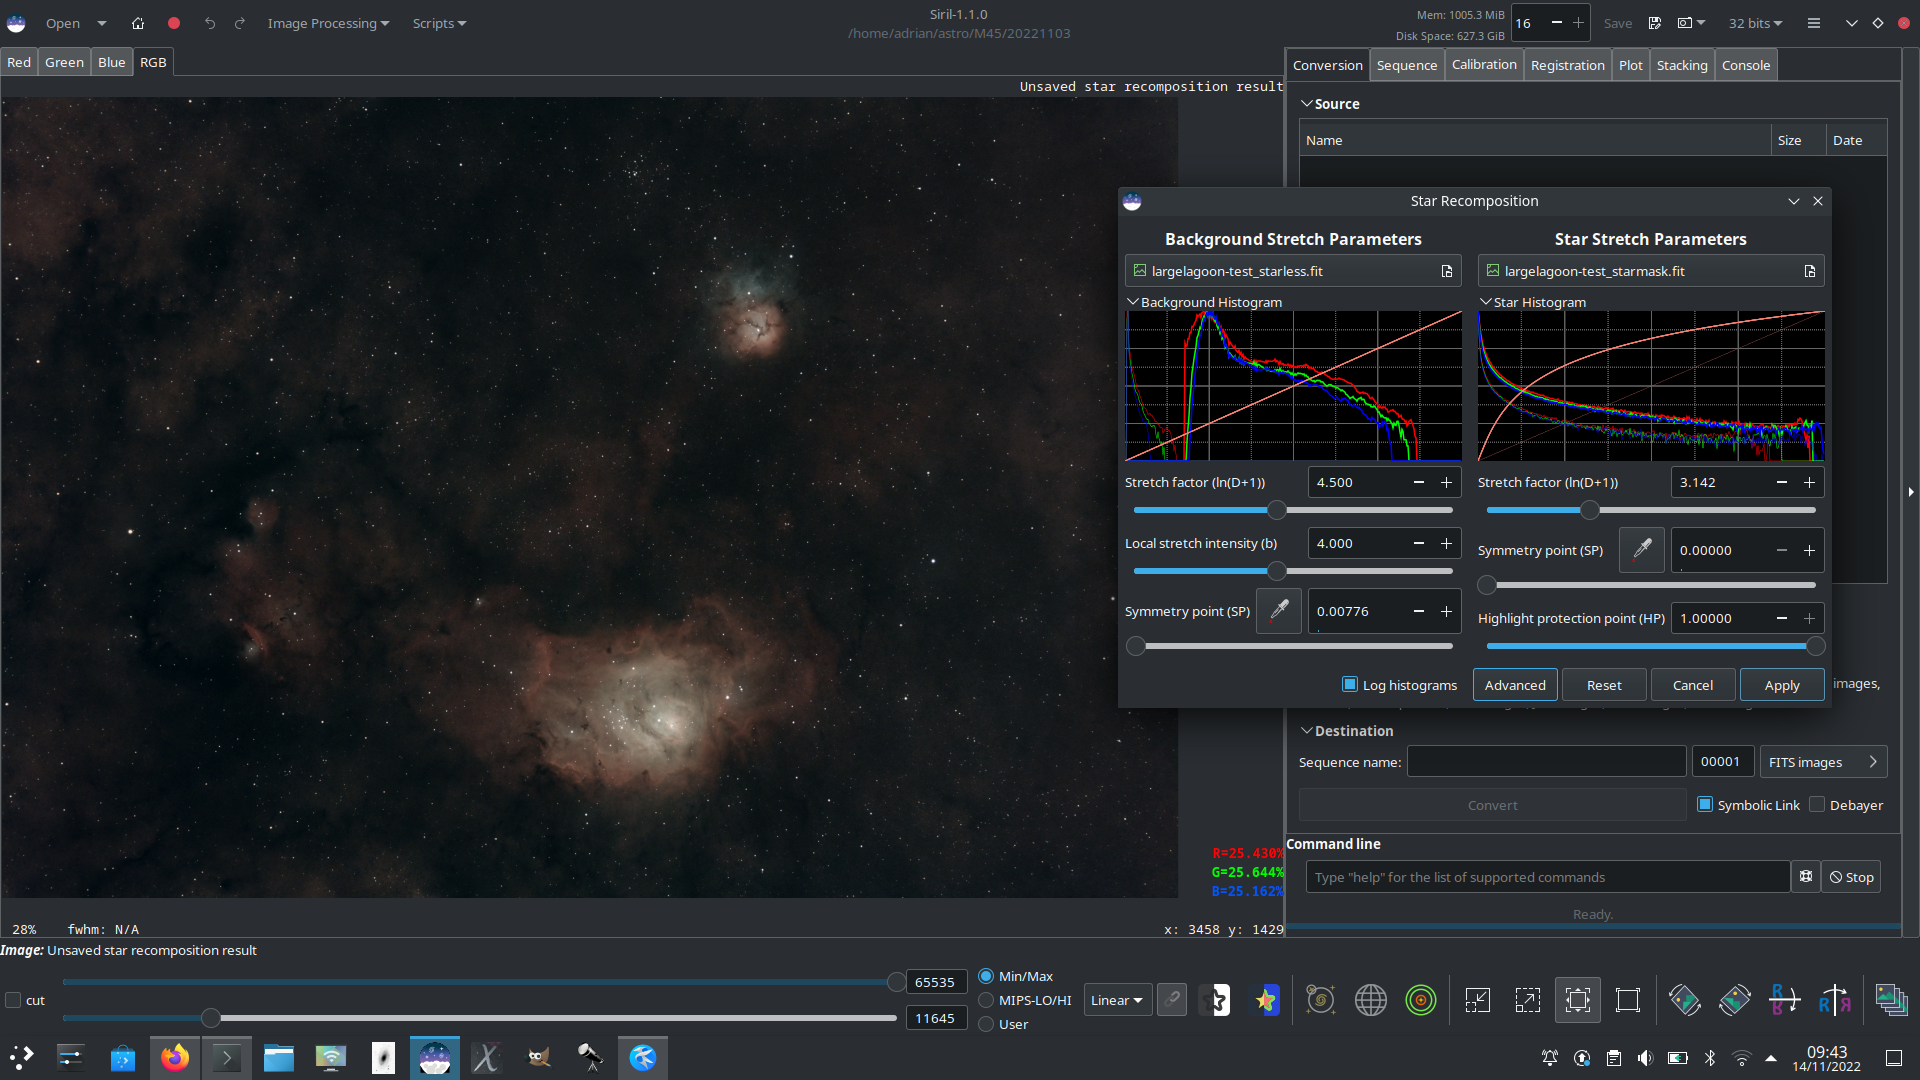
Applying stretch settings
As the full range of GHS controls is quite extensive, some have been hidden by default. They can be shown by clicking the “Advanced” button. The defaults have been selected so that excellent results can be achieved using the simple set of controls.
The controls behave the same as in the single-image Generalised Hyperbolic Stretch Transformations tool, with 2 exceptions. First, the black point control (available when Advanced is selected) applies to the base image as a separate stretch after the stretch set by the other controls. This means you will require a different BP value to achieve the same effect, but makes for a more natural workflow when combining the stretches on two different images. The other difference is that there is no ability to set the symmetry point SP by clicking on the histogram displays. This is because as a result of the different BP behaviour the meaning of the x axis in relation to pixel values in the original unstretched image is more ambiguous, so setting SP from it makes less sense.

Showing all settings
The two stretched images are combined in the CIE LAB color space using the following transformations (the subscripts l and r denote values from the left and right images respectively):
$L:L\rightarrow 1-((1-Ll)\times(1-Lr))$
$A:A\rightarrow \frac{Ll\times Al + Lr\times Ar}{Ll+Lr}$
$B:B\rightarrow \frac{Ll\times Bl + Lr\times Br}{Ll+Lr}$
What about PixelMath? #
The PixelMath tool recently introduced in Siril makes it possible to recombine starless and star mask images in a different manner. The two files can be loaded into PixelMath and combined using the standard range of Siril’s PixelMath operations. Unlike the Star Recombination tool, PixelMath offers the option to be scripted using Siril’s command set. Full details of PixelMath can be found in the main PixelMath tutorial page.
My stars are terrible, can I save my image? #
Of course! Siril offers Synthetic star tools which can help. If your stars are bad but for whatever reason it’s important to save the image rather than revisit the target, Synthetic Star tools can be used in conjunction with Starnet++ to replace them. Starnet++ is used to produce a starless image, and Synthetic star tools is used to generate a synthetic star mask using parameters of the stars actually measured from your image. The synthetic star mask can then be recombined with the starless image using the Star Recombination tool or PixelMath as described above.
It’s up to you now!!!