First steps – pre-processing with scripts
This tutorial explores your first steps with Siril and its scripting capability. Siril comes with a few basic scripts. They allow you to preprocess your images in one click!
1. Create the folders to hold your image types. #
Create the following 4 directories named as:
biasesdarksflatslights
2. Put your RAW images in the directories created in the previous step. #
Attention: don’t mix other files, even JPEG (or other formats), with your RAW files: Siril will take all the files inside the directories as input files for processing.
3. Click on the home button and navigate to your project folder. #
This tells Siril where all your images are located.
4. Validate with the Open button of the window. #
Headerbar of Siril
5. Click on the Scripts button and select the script of your choice. #
The main script that covers basic needs is named OSC_preprocessing.
If you don’t see the script, do the following:
- Go to your preferences (
ctrl+P) - Remove all script paths (as shown in the following screenshot).
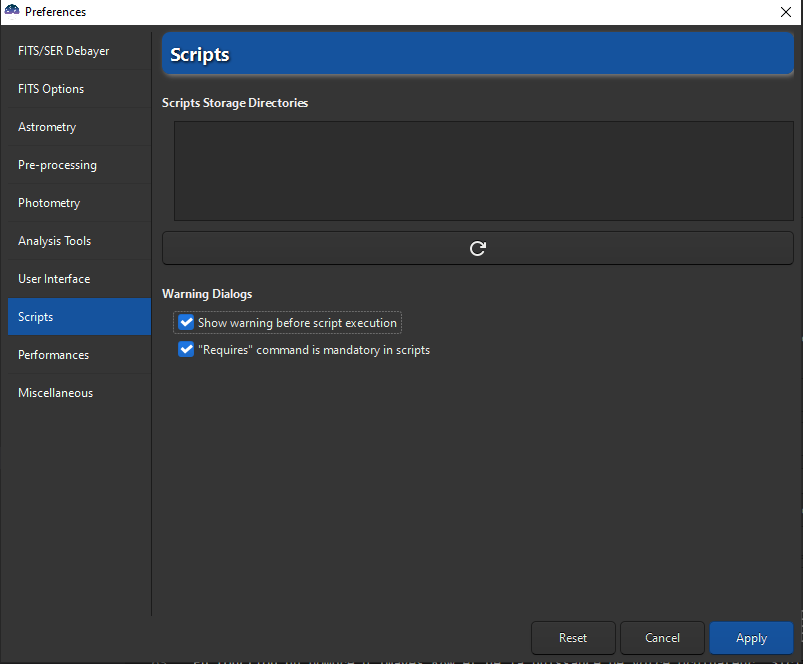
Preferences dialog box. Script paths can be added here.
- Validate your changes.
- Close and restart Siril. You are now ready to run a script.
If you need more scripts:
- Either reopen the preferences and go to the script tab, or click on the hamburger menu and then on “Get Scripts”.
A list of scripts is available. You can add them to your
Scriptsmenu by checking the buttonSel. - Download a script.
You can download any script you want, put it in any folder. You just have to indicate to Siril the path where it needs to search for it. Do it in Preferences, in the same tab as seen in the illustration above.
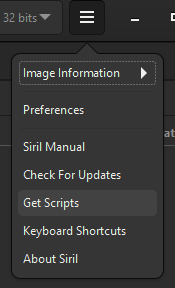
Hamburger menu of Siril.
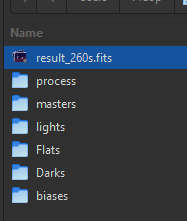
Now you have the desired script, navigate into the Script is running. The stacked image in the file tree.Script Menu and Siril Script Files; you should find your script and be able to run it.
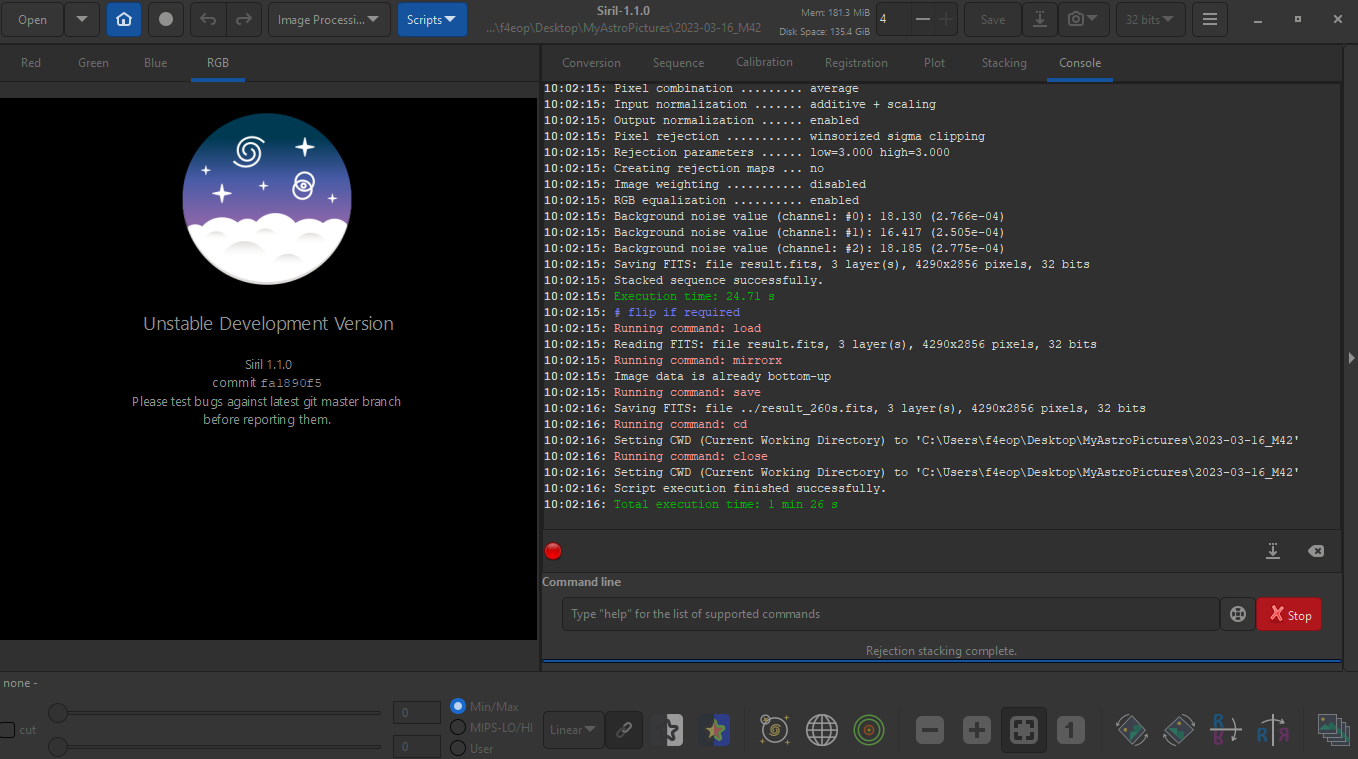
Depending on the number of RAW images and the power of your computer, Siril can take some time to process your images. At the end of the script, you should have a window like this: