Processing ZWO Seestar images
This tutorial explores the pre-processing and processing of images obtained from ZWO Seestar. Pre-processing will be carried out using a dedicated script.
Preprocessing #
1. Download the script to preprocess your images #
We’ve created a script tailored to the pre-processing of your seestar. This means that this script expects to have several images which it will stack.
Starting from version 1.4.0, Siril allows you to retrieve new scripts, developed by trusted third-party developers and hosted by the Siril team, via the Scripts tab in preferences.
Caution however!! If you were already using this script previously, we recommend removing it first. Indeed, by installing the new one you would have the same script twice in the menu.
To access preferences, simply click on the Hamburger menu, at the top right, in the form of 3 horizontal lines and choose Preferences.
Scroll through the list of scripts, and select the script as shown in the image below by checking the box. Then click on Apply to make the script appear in the Scripts menu.
Siril’s preferences in the script tab The script is now available in the menu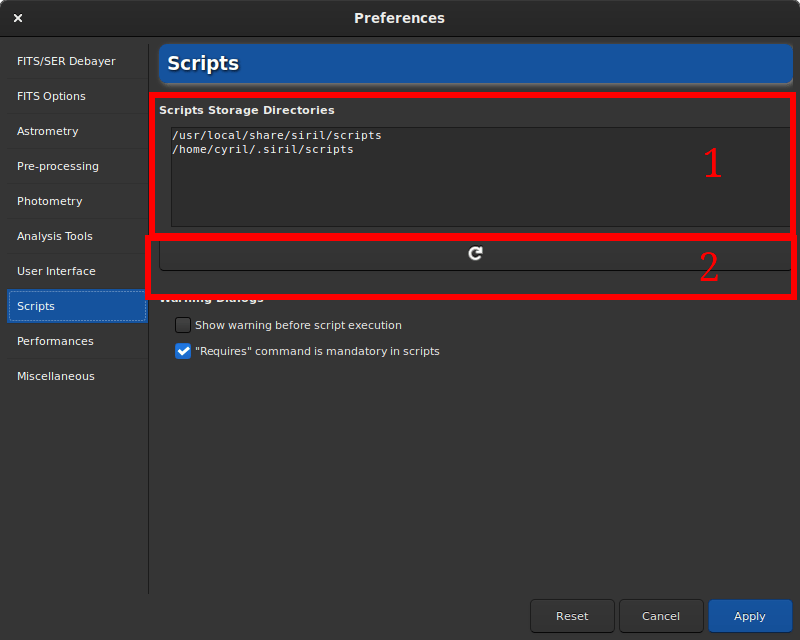
2. Create the folder to hold your images #
The seestar only gives access to light images. Calibration is therefore not possible. All you need to do is create a single directory in the folder where your images are stored.
Create the following directory named as:
lights
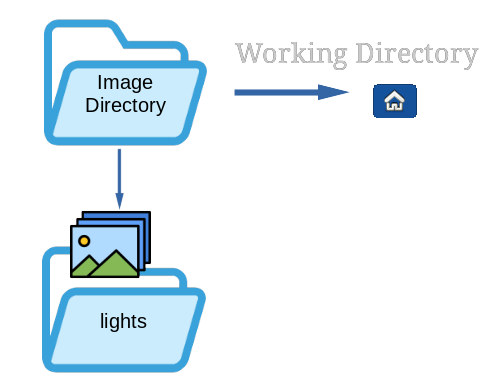
Folder structure as it should be defined.
3. Put your RAW images in the directory created in the previous step #
Attention: don’t mix other files, even JPEG (or other formats), with your RAW files: Siril will take all the files inside the directories as input files for processing.
4. Click on the home button and navigate to your project folder #
This tells Siril where all your images are located. Select the root directory
of lights, not the lights itself and validate with the Open button of the
opened dialog.

Headerbar of Siril
Siril will validate your working directory, which will be indicated in the application’s title bar. Check that it’s the right one.
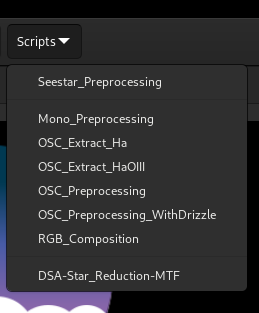
5. Click on the Scripts button and select the script of your choice #
The script that covers Seestar needs is named Seestar_Preprocessing. Click on it
and wait until it is complete.
6. Load the stacked image #
The stacked image is normally located next to your lights folder and the newly created process folder. It should be named according to the object photographed and the number of images stacked like for example: NGC_2175_268x20sec_T7°C_2024-03-07.fit.
Click on the Open button and load the image.
The image displayed is very dark, but this is normal. Switch to Autostretch viewing mode to see the image.
Please note that this is only a viewing mode and does not change your image.
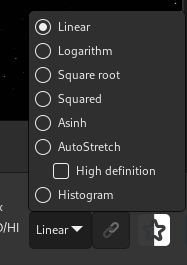
Visualization menu
Processing #
Once pre-processing is complete, it’s time to process the image. Basically you need :
- crop if necessary
- remove gradient
- color calibration
- stretch histogram
- save image
Of course, there’s more you can do, but if you’re on this page, you’re a beginner and we’re going to keep it simple.
1. Crop the image if needed #
Seestar tracking is far from perfect. The result is a lot of field rotation from one frame to the next. It is therefore advisable to crop the image if the edges are not pretty. If not needed, skip to step 3.
Simply make a selection with the left click of the mouse, then right-click to bring up a popup menu and choose the crop item.
2. Background extraction #
This step removes the gradient that may be present in your image. A tutorial detailing the whole process has been written here .
3. Plate-solving the image #
Knowing the exact position of the stars in the image is a sine qua non condition for Siril to apply several processes. It is for this purpose that you need to apply an astrometric solution, available via the Tools, Astrometry and Image Plate Solver... menu.
Seestar images have all the necessary information in the file header for astrometry to work properly (there’s no need to search for the object name and click on Find). Just press the OK button to perform astrometry automatically.
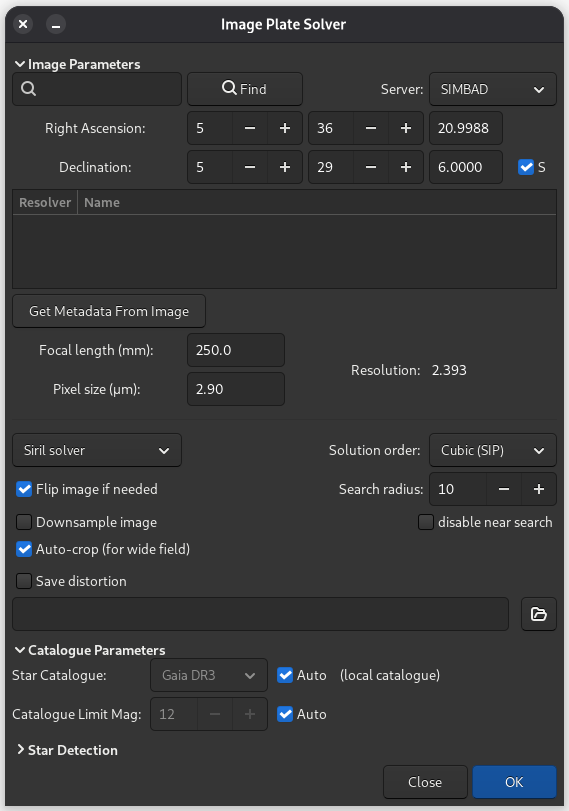
Siril’s astrometric solution tool
4. Color Calibration #
Siril offers several ways to retrieve the colors of your image. Here, “retrieve” means re-balancing the RGB channels to get as close as possible to the true colors of the photographed object.
The best way for retrieving the colors is to compare the color of the stars in the image with their color in catalogues, to obtain the most natural color in an automatic and non-subjective way. This is done with the SPCC (Spectrophotometric Color Calibration) tool, available since version 1.4.
For this to work, the tool needs to know the equipment used (sensor and filters) in order to accurately retrieve star colors. Simply fill in the fields as shown in the image below. Siril then saves the user choices for future use.
Please note that the Seestar also offers the option to work with narrowband filters. In this tutorial, we focus solely on standard R G B imaging.
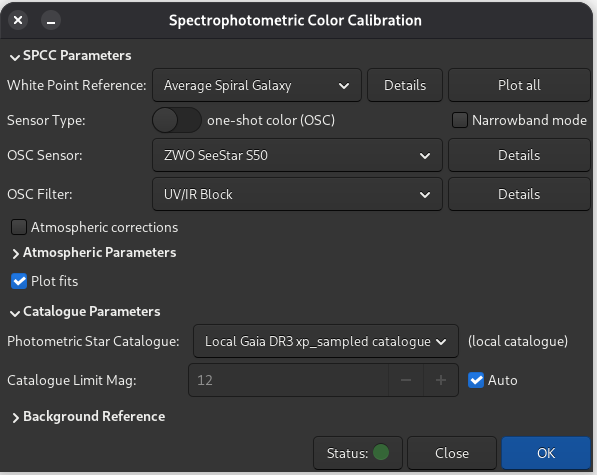
Spectrophotometric Color Calibration
Once the window is filled, click on OK. Siril will perform calculations and display graphs when finished.
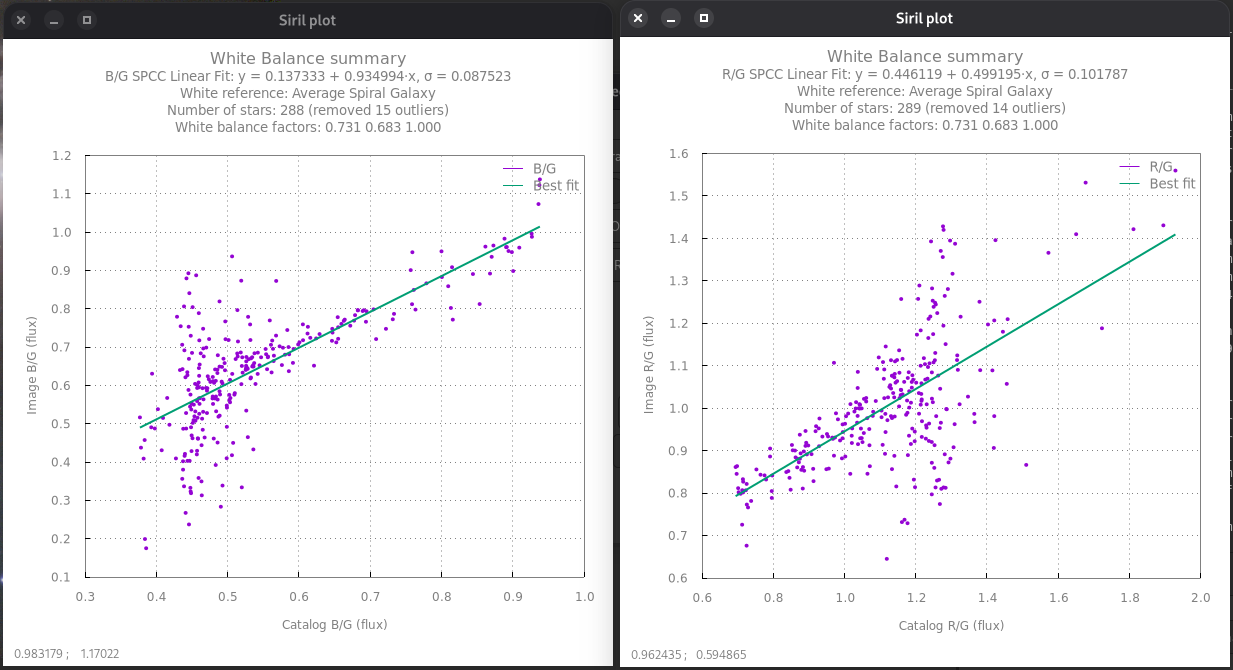
Calibration result
5. Stretch Histogram #
There are 3 tools for stretching the algorithm in Siril.
- The best way to stretch the histogram is to use the Generalized Hyperbolic Stretch tool. Before stretching the histogram, it is generally advisable to switch back to linear viewing, to see on screen what the image actually looks like.
- The simplest tool is Histogram Transformation. It does not, however, give the best results. It is explained in detail in this tutorial .
6. Save image #
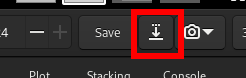
You can save your image at any time. However, if you wish to save it in a format readable by other software, click on the button shown in the illustration below.
Saving an image